How to Remove Tile Backsplash and Choose a Better Design for Your Kitchen
When it comes to transforming a kitchen, few upgrades make as immediate an impact as replacing an outdated tile backsplash. Whether your current backsplash feels dated, damaged, or simply no longer matches your style, removing it and installing a new design can completely refresh your space.
At Atlas Home Improvement, we often work with Michigan homeowners who want a cleaner, more modern look but are unsure where to start. This guide walks you through the process of removing a tile backsplash and choosing a better design that fits your kitchen and your lifestyle.
Why Homeowners Replace Their Tile Backsplash
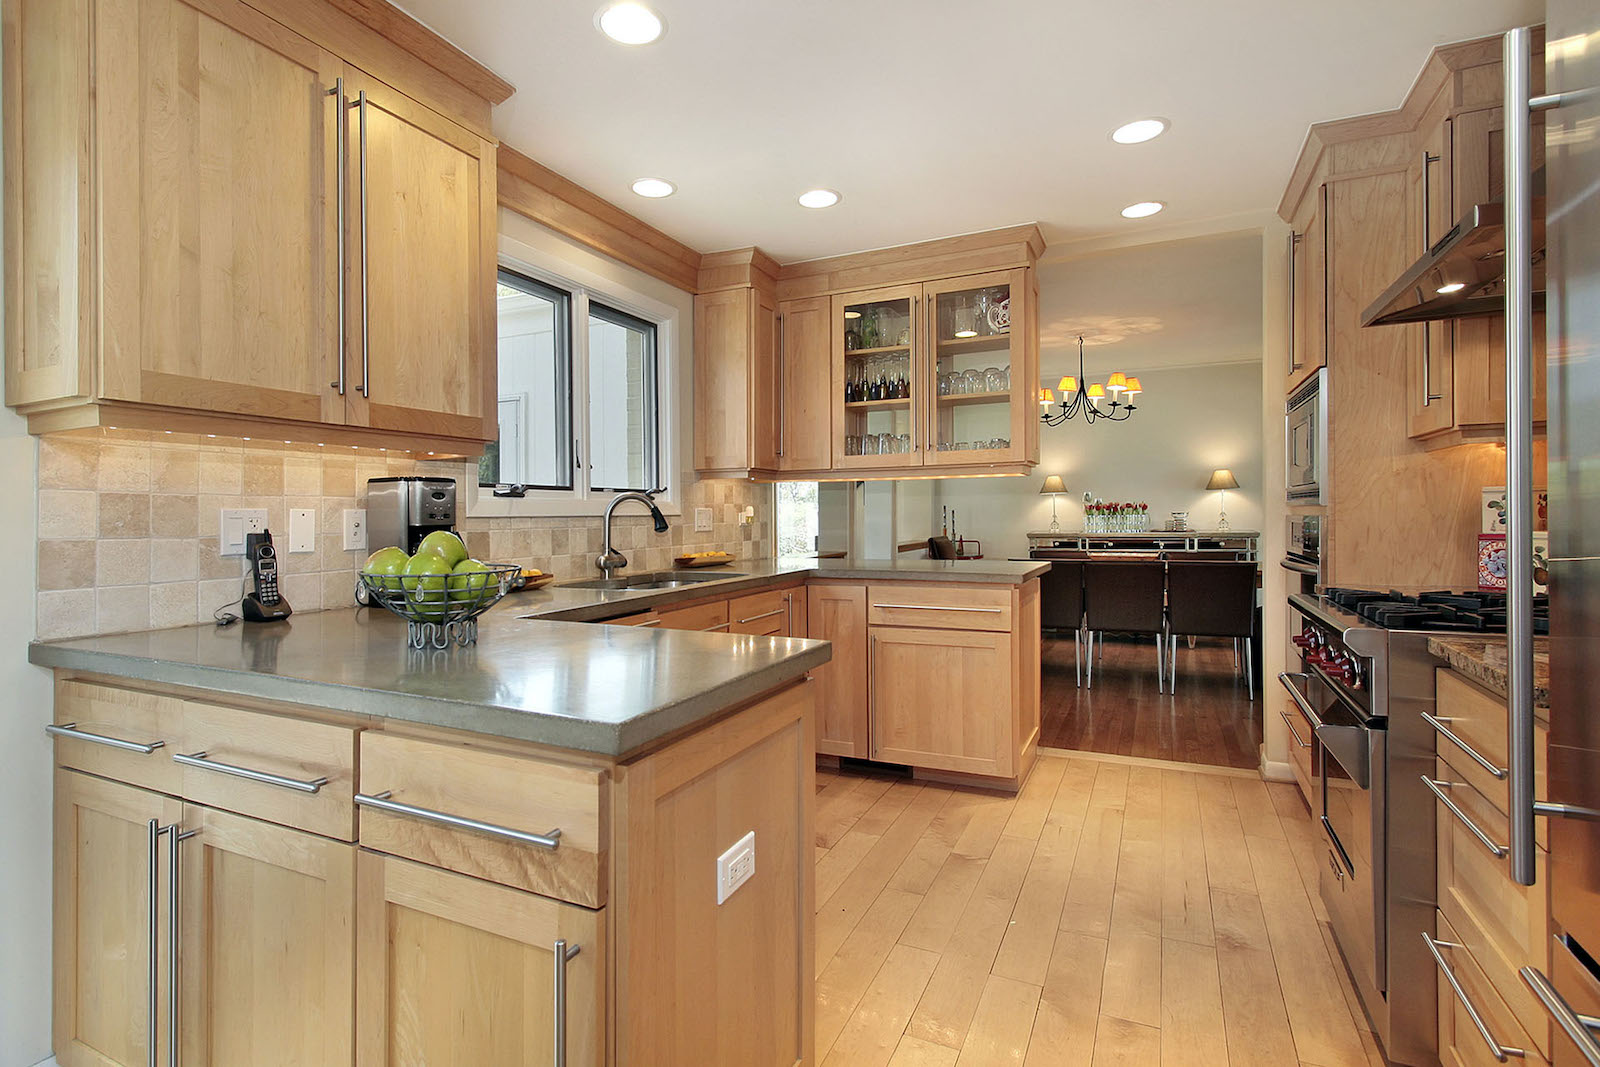
A kitchen backsplash is a small area, but it has a huge visual impact. Over time, styles change, materials wear down, and what once looked great can start to feel out of place. Many homeowners decide to replace their backsplash because outdated tile patterns or colors no longer match their taste, or because visible damage such as cracks, chips, or stains begins to affect the overall look of the kitchen.
In other cases, a backsplash update is part of a larger kitchen remodel, especially when cabinets or countertops are being upgraded. Even without a full renovation, homeowners often want a more modern and cohesive design, and replacing the backsplash is one of the most effective ways to achieve that without taking on a complete overhaul.
Tools and Materials You Will Need
Before starting, it is important to gather the right tools. Removing tile is not complicated, but it does require preparation and patience.
Common tools include:
- Putty knife or drywall knife
- Hammer or rubber mallet
- Pry bar
- Grout removal tool or oscillating multi-tool
- Shop vacuum
- Drop cloths and plastic sheeting
- Safety gear such as gloves and eye protection
Tile is typically installed with thinset mortar, which bonds very strongly to drywall. That is why proper tools and technique matter.

Step-by-Step: How to Remove Tile Backsplash
1. Turn Off Power
Before doing anything, shut off electricity to the kitchen area. Outlets and wiring often run behind the backsplash, and safety should always come first.
2. Protect Your Kitchen
Cover countertops with cardboard or heavy paper, tape plastic sheeting to nearby surfaces, and plug the sink drain to prevent debris from causing damage.
3. Remove Fixtures and Obstructions
Take off outlet covers, switch plates, and any trim pieces that sit on top of the tile. This gives you full access to the backsplash surface.
4. Cut Through Caulk and Loosen Grout
Use a grout removal tool or oscillating tool to break up grout lines. This step helps separate tiles and makes removal easier.
5. Start Removing Tiles
Begin at an exposed edge or top row. Insert a putty knife behind the tile and gently tap it with a hammer. Some tiles may come off cleanly, while others may break and require chipping.
Work slowly and methodically. Rushing increases the risk of damaging the drywall underneath.
6. Continue Across the Wall
Remove and dispose of tiles one at a time, working your way down. This process can be time-consuming, but patience leads to better results.
7. Scrape Off Remaining Adhesive
After the tiles are gone, you will likely see leftover thinset. Scrape down high spots using a drywall knife to create a smoother surface.
8. Repair the Wall
Tile removal often leaves behind dents, grooves, or holes. These can be repaired with joint compound and sanding to create a clean surface for your new backsplash.
Proper wall preparation is essential. A smooth, even surface ensures your new tile installation looks professional and lasts longer.
Common Mistakes to Avoid During Removal
Even though backsplash removal can be a manageable DIY project, there are a few common mistakes that can cause problems:
- Skipping prep work and damaging countertops
- Not turning off power
- Using too much force and tearing drywall
- Ignoring wall repairs before installing new tile
Taking your time during removal will save you time and money during installation.
Choosing a Better Backsplash Design
Once the old tile is gone, the exciting part begins. Choosing a new backsplash design is where you can truly transform your kitchen.

Here are the key factors to consider:
1. Tile Size and Scale Matter
One of the most common design mistakes is choosing the wrong tile size for your space. Oversized tiles can overwhelm a small kitchen, while tiny tiles can look too busy in a large one.
Balanced proportions create a clean, intentional look.
2. Layout and Pattern Make a Big Impact
Tile layout is just as important as tile choice. Modern trends are moving toward:
- Vertical stacked subway tiles for added height
- Large format tiles with fewer grout lines
- Clean grid patterns for a contemporary feel
Vertical layouts, in particular, can draw the eye upward and make kitchens feel taller and more open.
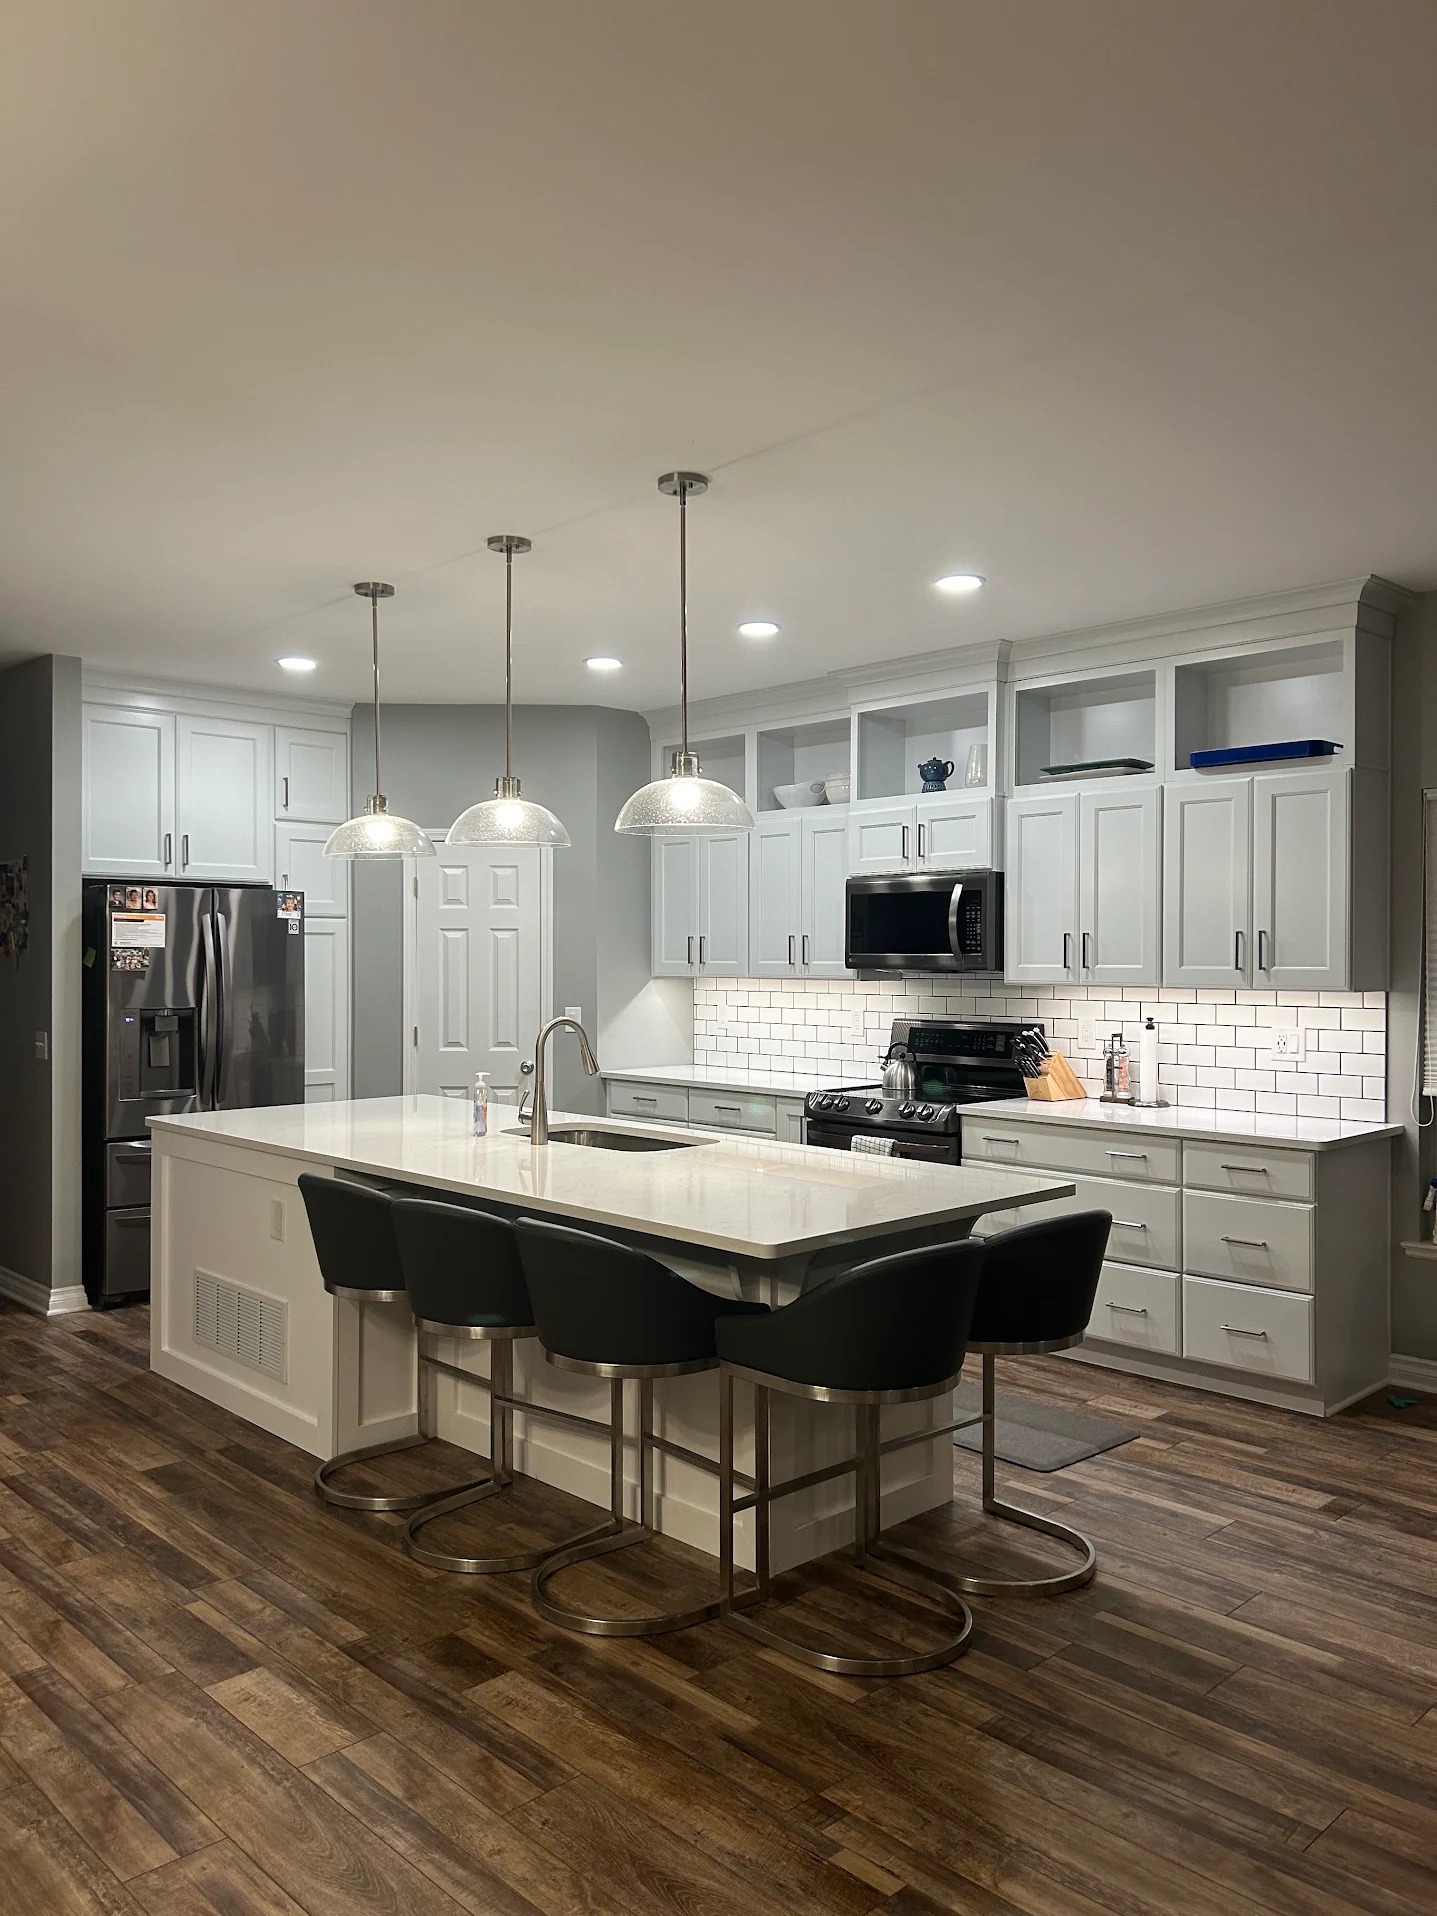
3. Keep Color Cohesive
Too many colors can make a kitchen feel chaotic. Instead, choose a palette that complements your cabinets, countertops, and flooring.
Neutral tones such as white, gray, and soft earth tones remain popular because they are timeless and flexible.
If you want contrast, consider using a bold tile color with subtle grout or vice versa.
4. Choose the Right Grout
Grout color plays a bigger role than many homeowners expect.
- Matching grout creates a seamless look
- Contrasting grout highlights tile patterns
- Dark grout can help hide stains
Choosing the wrong grout color can overwhelm the kitchen design or make it look dated.
5. Think About Maintenance
Some materials look beautiful but require more upkeep.
- Marble needs regular sealing and care
- Ceramic and porcelain are durable and easy to maintain
- Glass tiles reflect light and brighten the space
Function matters just as much as style when choosing your backsplash.
6. Plan Your Layout in Advance
A well-planned layout avoids awkward cuts and wasted materials.
Experts recommend mapping out your backsplash before installation to align tiles with cabinets and outlets.
Planning ahead also helps ensure a clean, professional finish.
Backsplash Design Mistakes to Avoid
Even great materials can fall short if the design is not thoughtfully planned. One of the most common mistakes is using too many colors or patterns, which can make the kitchen feel busy and uncoordinated rather than stylish.
Another issue is failing to consider how the backsplash ends at cabinets, countertops, or walls, which can result in awkward edges or incomplete transitions. Homeowners also sometimes choose materials that look beautiful but are not practical for areas exposed to heat, moisture, or frequent cooking.
Lighting is another overlooked factor, as certain tile finishes can reflect or absorb light in ways that impact the overall feel of the space. A successful backsplash design should feel balanced, cohesive, and intentional, tying the entire kitchen together rather than competing with it.
Why Some Homeowners Choose to Hire Professionals
While removing and replacing a backsplash can be a DIY project, it is not always the best choice for every homeowner.
Here are a few reasons why many people turn to professionals like Atlas Home Improvement:
1. Risk of Wall Damage
Tile removal can easily damage drywall, especially if the tiles were heavily bonded with mortar. Repairing large sections of wall can quickly turn a simple project into a more complex one.
2. Electrical and Structural Concerns
Working around outlets and wiring adds another layer of complexity. Professionals know how to handle these safely and correctly.
3. Precision Installation Matters
Even small mistakes in tile spacing or alignment can stand out. Achieving straight lines, consistent grout spacing, and clean edges requires skill and experience.
4. Time and Convenience
DIY projects often take longer than expected. Hiring a professional allows you to avoid the mess, save time, and get high-quality results faster.
5. Design Expertise
Choosing the right tile, layout, and materials can feel overwhelming. Professionals can guide you towards a kitchen remodel that matches your home.
How Atlas Home Improvement Can Help
At Atlas Home Improvement, we specialize in helping homeowners upgrade their kitchens with confidence. From safe tile removal to expert installation and design guidance, our team ensures your project is done right the first time.
We understand that every kitchen is unique. That is why we work closely with you to create a backsplash that complements your space, fits your style, and stands the test of time.
Which Choice is Best for You?
Removing a tile backsplash and replacing it with a better design is one of the most impactful kitchen upgrades you can make. While the process requires effort and attention to detail, the results can completely transform your space.
If you choose to tackle it yourself, proper preparation and patience are key. If you prefer a stress-free experience with professional results, working with a trusted team like Atlas Home Improvement can make all the difference.
A well-designed backsplash is more than just a finishing touch. It is a statement piece that brings your entire kitchen together.
If you are ready to upgrade your kitchen, Atlas Home Improvement is here to help every step of the way. Contact our team online or call 734-344-4788 to schedule a free consultation.
FAQ: How to Remove Tile Backsplash and Choose a Better Design for Your Kitchen
Q: Can I remove a tile backsplash without damaging the drywall?
It is possible, but not guaranteed. Some tiles come off cleanly, especially if they were lightly adhered. However, in many cases the thinset mortar bonds strongly to drywall, which can cause tearing or surface damage during removal. Minor damage can usually be repaired with joint compound, but larger areas may require replacing sections of drywall.
Q: How long does it take to remove and replace a backsplash?
For a DIY project, removal alone can take several hours to a full day depending on the size of the kitchen and how firmly the tile is attached. Adding wall repairs, drying time, and installation of new tile, the entire process can take several days. Professional installers can often complete the job more efficiently.
Q: What type of backsplash tile is easiest to maintain?
Ceramic and porcelain tiles are among the easiest to maintain because they are durable, non-porous, and resistant to stains. They require minimal upkeep compared to natural stone options like marble, which need regular sealing and more careful cleaning.
Q: Do I need to replace drywall before installing a new backsplash?
Not always. If the wall is mostly intact after tile removal, you can repair it with patching compound and sanding to create a smooth surface. However, if there is significant damage or unevenness, replacing the drywall may be the best option to ensure a clean and long-lasting installation.