How to Remove Grout From Your Shower: A Complete Guide for Homeowners
Over time, even the most beautiful showers can start to show signs of wear—cracked grout lines, discoloration, mold buildup, or even loose tiles. Because grout plays such a critical role in sealing your shower and protecting it from moisture damage, these issues aren’t just cosmetic—they can lead to bigger structural problems if left unaddressed.
If you’re researching how to remove grout from your shower, you’re likely already noticing these warning signs. While it’s true that some homeowners attempt grout removal themselves, the process can quickly become time-consuming, technical, and risky without the right tools and experience.
That’s where Atlas Home Improvement comes in. With decades of hands-on experience, we know how to remove grout, protect your tile, and get your shower ready for long-lasting results. In this guide, we’ll give you all the information you need to make the right decision for your project.
Thinking about refreshing your shower? Call 734-344-4788 or contact us online today for expert guidance and a free consultation.
Why Remove Grout?
Grout acts as a vital barrier that keeps water from seeping behind your shower walls. When grout begins to fail, it can lead to:
- Water infiltration behind tile
- Mold and mildew growth
- Tile loosening or cracking
- Structural damage to walls or subfloor
Removing damaged grout is a critical first step before regrouting, recaulking, or replacing your shower.
Tools Needed to Remove Grout From Your Shower
If you’re doing a bathroom remodel and are planning to tackle grout removal yourself, having the right tools is essential. It’s also important to know the limitations of what you can get your hands on versus what professionals bring to the table.
Basic DIY Tools
- Grout saw (manual tool for small areas)
- Utility knife or scraper
- Rotary tool with grout removal bit
- Oscillating multi-tool with grout blade
- Vacuum or shop vac
- Safety gear (gloves, goggles, dust mask)
What Professionals Use
Professionals go beyond basic tools, using:
- High-precision oscillating tools
- Specialized carbide or diamond blades
- Dust control systems
- Advanced techniques to prevent tile damage
Why this matters: The difference isn’t just speed—it’s accuracy. Professionals know how to remove grout without chipping tile edges or damaging the underlying surface. They’re also adept at the best practices for prep, installation, and cleanup.

Step-by-Step: How to Remove Grout From Your Shower
Understanding the grout removal process can give you a good frame of reference for the sort of project you’re taking on, and whether it’s a better option to outsource the work to a contractor.
Step 1 – Prepare the Area
Before starting:
- Remove all items from the shower
- Clean the surface to remove soap residue
- Ensure proper ventilation
- Lay down protective coverings if needed
Safety should always come first, especially in enclosed bathroom spaces. The EPA outlines comprehensive safety standards for repair and renovation activities.
Step 2 – Score the Grout Lines
Start by lightly scoring along the grout lines using a utility knife or grout saw. This:
- Breaks the surface layer
- Helps guide your tools
- Reduces the risk of slipping
Step 3 – Begin Removing the Grout
Manual Removal (Best for Small Areas)
Using a grout saw, work slowly along each line. This method gives you more control but can be labor-intensive.
Power Tools (Faster but Riskier)
Oscillating tools or rotary tools significantly speed up the process. However, they require a steady hand—applying too much pressure can chip or crack tiles.
Step 4 – Clean the Joints
Once grout is removed:
- Vacuum debris from joints
- Wipe surfaces with a damp cloth
- Inspect for remaining grout residue
Clean joints are essential for proper adhesion when regrouting.
Step 5 – Inspect for Hidden Issues
This is where many DIY projects run into trouble.
After grout removal, you may uncover:
- Loose tiles
- Water damage behind walls
- Mold growth
- Cracked backer board
These issues often require more than a simple fix—and this is where professional experience becomes invaluable.
Common Challenges Homeowners Face
Hard or Old Grout
Older grout can become extremely dense and difficult to remove. Manual tools may not be effective, and power tools require careful handling.
Closely-Spaced or Mosaic Tiles
Tight grout lines increase the risk of tile damage.
DIY communities frequently point out that working slowly and gradually is key. But even then, mistakes can happen:
Corners and Transitions
One of the most overlooked areas is where walls meet floors or other surfaces.
Instead of grout, these areas typically require flexible caulk to prevent cracking. Improper handling here can lead to recurring issues:
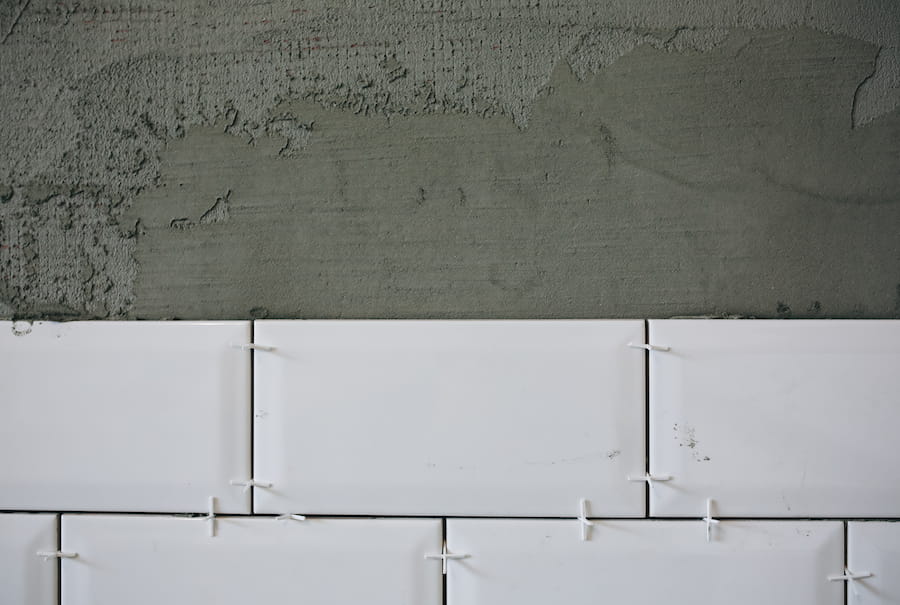
What Comes After Grout Removal?
Once the old grout has been removed, the next step is restoring and protecting your shower so it looks great and performs properly long-term.
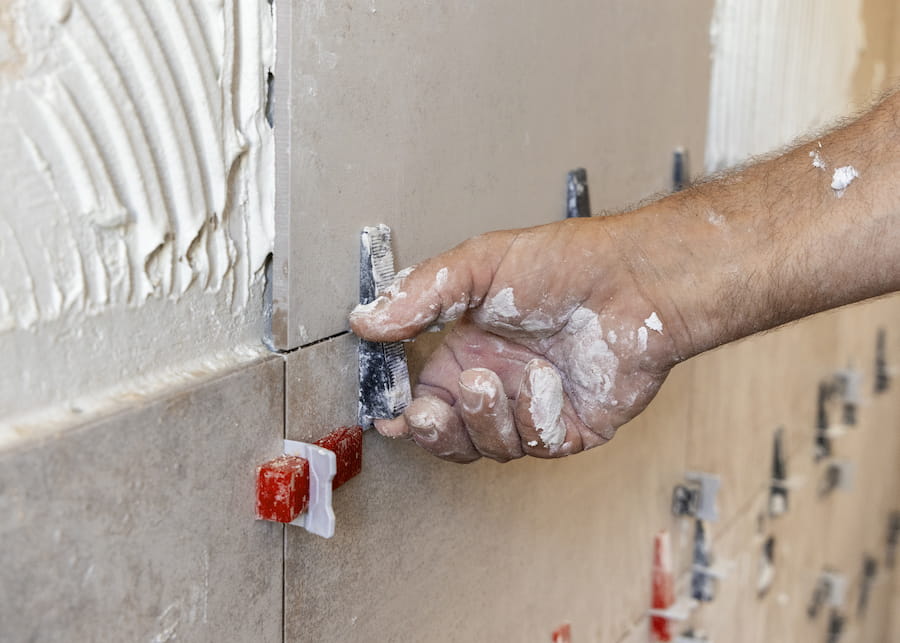
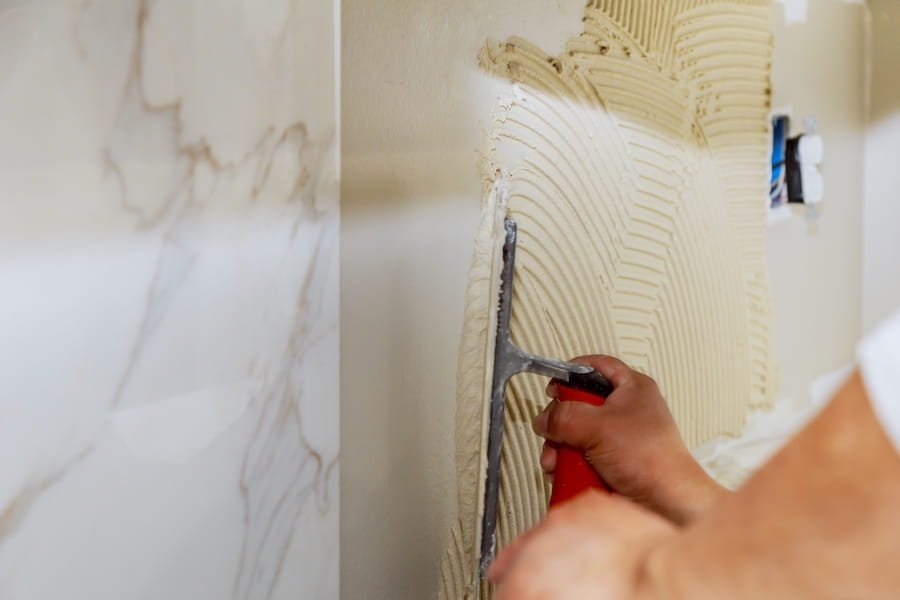
Regrouting
Fresh grout is applied between the tiles to restore a clean appearance and create a strong, water-resistant seal.
Recaulking
In corners and transition areas, grout is typically replaced with a flexible caulk. This helps accommodate movement and prevents future cracking or water intrusion.
Considering a Full Shower Upgrade
In some cases, removing grout can reveal deeper issues, like hidden moisture damage or loose tiles. When that happens, a full shower replacement may be the most effective long-term solution for both performance and appearance.
DIY vs. Professional Grout Removal: What’s the Difference?
When deciding how to remove grout from your shower, it’s important to understand the real differences between a DIY approach and hiring a professional. While tackling the job yourself may seem cost-effective at first, the complexity of grout removal—especially in a moisture-prone environment like a shower—can quickly introduce risks that impact both appearance and long-term durability.
DIY Approach
For small, isolated repairs, a DIY approach can be a practical option. However, it requires time, patience, and careful attention to detail to avoid damaging surrounding tile or leaving behind uneven surfaces.
- Lower upfront cost
- Suitable for small repairs or touch-ups
- Time-consuming and physically demanding
- Higher risk of tile damage or incomplete grout removal
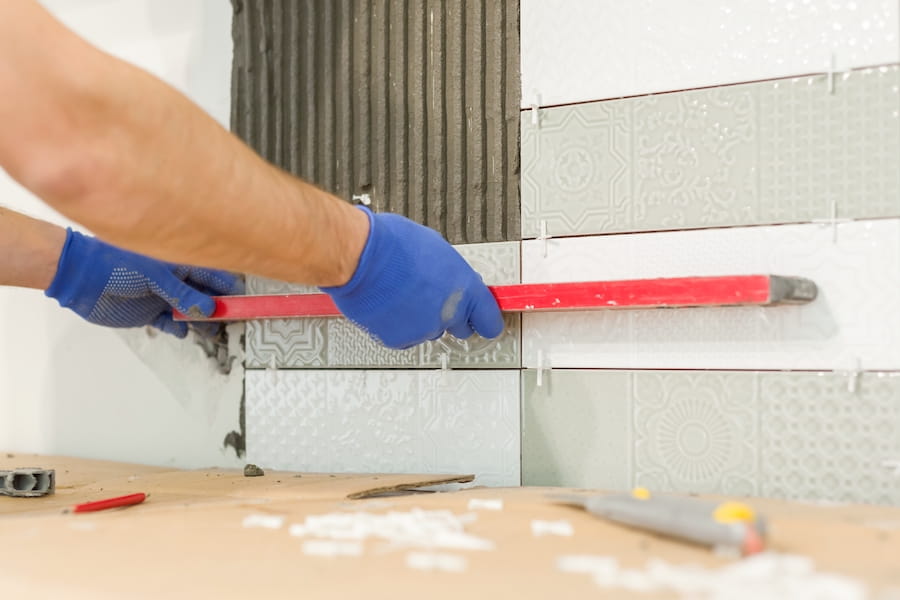
Professional Approach
Professional grout removal delivers a higher level of precision and efficiency, particularly for full shower projects. Experienced technicians use specialized tools and proven techniques to ensure grout is removed cleanly without compromising the integrity of the tile or underlying structure.
- Faster and more efficient process
- Precision tools designed to protect tile edges
- Ability to identify hidden issues like moisture damage or loose tiles
- Long-lasting, high-quality results that support proper regrouting
For larger or more complex showers, professional service often saves homeowners significant time, money, and frustration by preventing costly mistakes and ensuring the job is done right the first time.
When It Makes Sense to Call a Professional
While minor grout repairs may be manageable on your own, many situations call for expert attention. Shower systems are constantly exposed to moisture, which means even small issues can lead to bigger problems if not handled correctly.
Professional help is strongly recommended if:
- Your shower has widespread grout damage or deterioration
- Tiles feel loose, uneven, or unstable
- You notice signs of water damage, mold, or mildew
- You’re planning to regrout, recaulk, or fully remodel the space
- Your shower includes delicate, intricate, or high-end tile materials
In these cases, proper technique and evaluation are critical — not just for appearance, but for protecting your home from long-term water damage.
Why Homeowners Choose Atlas Home Improvement
When it comes to shower projects, experience matters. With decades of industry expertise, Atlas Home Improvement has built a reputation for delivering results that go beyond surface-level fixes.
Homeowners trust Atlas for:
- Expert grout and tile removal performed with precision
- Skilled craftsmanship that protects and enhances existing surfaces
- Customized shower solutions tailored to each home and style
- Reliable, long-lasting results backed by a strong track record of customer satisfaction
We don’t just remove grout; we take a comprehensive approach to your shower. Our team carefully evaluates the entire system, identifying potential issues and recommending the best path forward so your investment holds up for years to come.
Get the Best Results With Expert Help
Learning how to remove grout from your shower is a great starting point, but larger or more complex projects often require professional expertise to avoid costly mistakes.
With decades of experience, Atlas Home Improvement delivers precise workmanship, reliable results, and long-lasting solutions—from grout removal to full shower replacements.
Ready to upgrade your shower the right way? Call 734-344-4788 or contact us online today to schedule your consultation.
FAQ: How to Remove Grout From Your Shower
Q: How do you remove grout from a shower safely?
Use a grout saw or oscillating tool, work slowly along grout lines, and wear protective gear to avoid damaging tiles.
Q: What is the best tool for removing grout?
An oscillating multi-tool with a grout removal blade is the most efficient option, while manual grout saws work well for small areas.
Q: Can I remove grout myself or should I hire a professional?
DIY is possible for minor repairs, but professionals are recommended for larger or complex showers to prevent damage and ensure long-lasting results.
Q: How deep should grout be removed before regrouting?
Typically, grout should be removed about 2–3 mm deep to allow new grout to properly adhere.
Q: How long does grout removal take?
Small areas may take a few hours, while full shower grout removal can take a full day or more, depending on size and condition.
Related Topics
- What Shower Material is Easiest to Clean?
- Benefits of a Walk-In Shower
- When to Remodel a Bathroom in Michigan: 5 Signs It’s Time to Schedule Your Project