Tips for Installing a Kitchen Island: Design, Layout & More
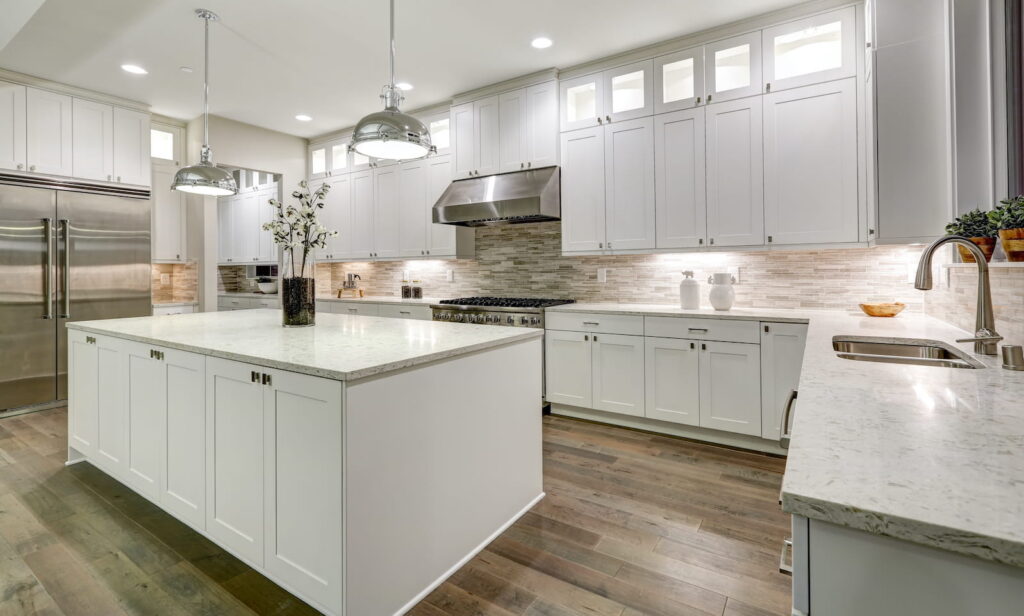
A kitchen island is one of the most impactful upgrades you can make in your home. It adds functionality, increases storage, improves workflow, and often becomes the central gathering space for family and guests. But installing a kitchen island is not as simple as placing cabinets in the middle of the room. It requires careful planning, accurate measurements, and attention to structural details.
Whether you are considering a DIY approach or exploring professional installation for a kitchen remodel, this guide walks you through essential tips for installing a kitchen island from experts at Atlas Home Improvement.
Start With a Clear Purpose
Before you measure anything or purchase materials, define how you plan to use your kitchen island. This decision shapes everything else.
Kitchen islands can serve many purposes. They can function as a dedicated food prep station, a casual dining or seating area, a visual focal point, or a storage hub with cabinets and drawers. Many homeowners also use islands to house appliances such as sinks or cooktops, while others turn them into a gathering space for homework, conversation, or entertaining guests.
A well-designed island should justify the space it occupies. If it does not improve functionality or flow, it may not be the right addition for your kitchen.
Measure Your Space Carefully
One of the biggest mistakes homeowners make is installing an island that is too large for their kitchen. Proper spacing is critical for both comfort and safety.
You should aim for a minimum clearance of about 3 to 3.5 feet around the island, although 40 inches or more is ideal for comfortable movement. This spacing allows cabinet doors and appliances to open fully while still giving people enough room to walk through the space without feeling cramped. As a general guideline, a functional island should be at least 4 feet long and just over 2 feet deep.
These clearances ensure that your kitchen remains practical and enjoyable to use rather than crowded and restrictive.
Plan the Layout and Placement
Placement is just as important as size. Your island should enhance the natural workflow of your kitchen, not disrupt it.
Consider the “work triangle” between the sink, stove, and refrigerator. The island should support this flow rather than block it. It should also be positioned to allow multiple people to move comfortably through the space.
Think about:
- Traffic patterns
- Proximity to appliances
- Access to seating areas
- Sightlines and openness
A poorly placed island can create bottlenecks and reduce efficiency.
Choose the Right Height
Kitchen islands typically come in two standard heights.
A standard counter height of 36 inches is ideal for food preparation and everyday tasks. A taller 42-inch bar height is better suited for seating and entertaining, especially if you want a more casual dining experience. In some cases, homeowners opt for a split-level island that combines both heights, allowing for separate prep and seating areas within the same structure.
Choosing the right height depends on how you plan to use the space and who will be using it most often.
Get the Overhang Right
If your island includes seating, the countertop overhang is one of the most important design details.
For standard counter-height islands where counter seating is common, a minimum overhang of 10 to 12 inches is recommended, though 12 to 15 inches provides better comfort. Bar-height islands typically require an overhang between 8 and 12 inches.
You should also plan for spacing between seats. Allowing about 24 inches of width per person ensures that everyone has enough room to sit comfortably without feeling crowded. Getting these dimensions right makes a noticeable difference in usability and comfort.
Ensure Proper Structural Support
A kitchen island is not just cabinetry. It must support heavy countertops, appliances, and daily use.
For overhangs and larger surfaces, proper reinforcement is essential. This often includes using brackets, corbels, or hidden steel supports to hold the weight securely. Cabinetry may also need to be reinforced to prevent shifting or sagging over time, especially when using heavier materials like granite or quartz.
Without the right structural support, your island can develop cracks or stability issues, which can lead to costly repairs later on.
Think About Storage and Functionality
A great kitchen island is more than a flat surface. It should improve how your kitchen works with smart storage.
You can incorporate deep drawers for pots and pans, pull-out bins for trash and recycling, or shelving for cookbooks and decorative items. Some homeowners also choose to include built-in appliances to maximize efficiency.
Function should always come before aesthetics. While a stylish island can enhance the look of your kitchen, it needs to serve your daily needs to truly add value.
Plan Electrical and Plumbing Early
If your island will include outlets, lighting, a sink, or appliances, you need to plan utilities before installation.
Common additions include:
- Electrical outlets for small appliances
- Pendant lighting for task visibility
- Plumbing for sinks or dishwashers
Running electrical wiring or plumbing after installation can be costly and complicated, so it is best to plan these elements upfront.
Don’t Forget Lighting
Lighting is often overlooked but plays a huge role in both functionality and ambiance.
Since islands typically do not have overhead cabinets, they rely heavily on ceiling lighting. Pendant lights are a popular choice because they provide focused illumination while also adding visual interest. Recessed lighting can offer a more subtle and even distribution of light, while track lighting allows for adjustable positioning.
Proper lighting ensures your island is usable for cooking, dining, and socializing at any time of day.
Choose Materials That Match Your Lifestyle
Your countertop, flooring, backsplash, and cabinet materials should align with your aesthetic and how you use your kitchen.
Popular countertop options:
- Granite for durability
- Quartz for low maintenance
- Butcher block for warmth and style
Consider factors like:
- Resistance to stains and scratches
- Ease of cleaning
- Long-term durability
The right materials can make your island both functional and long-lasting.
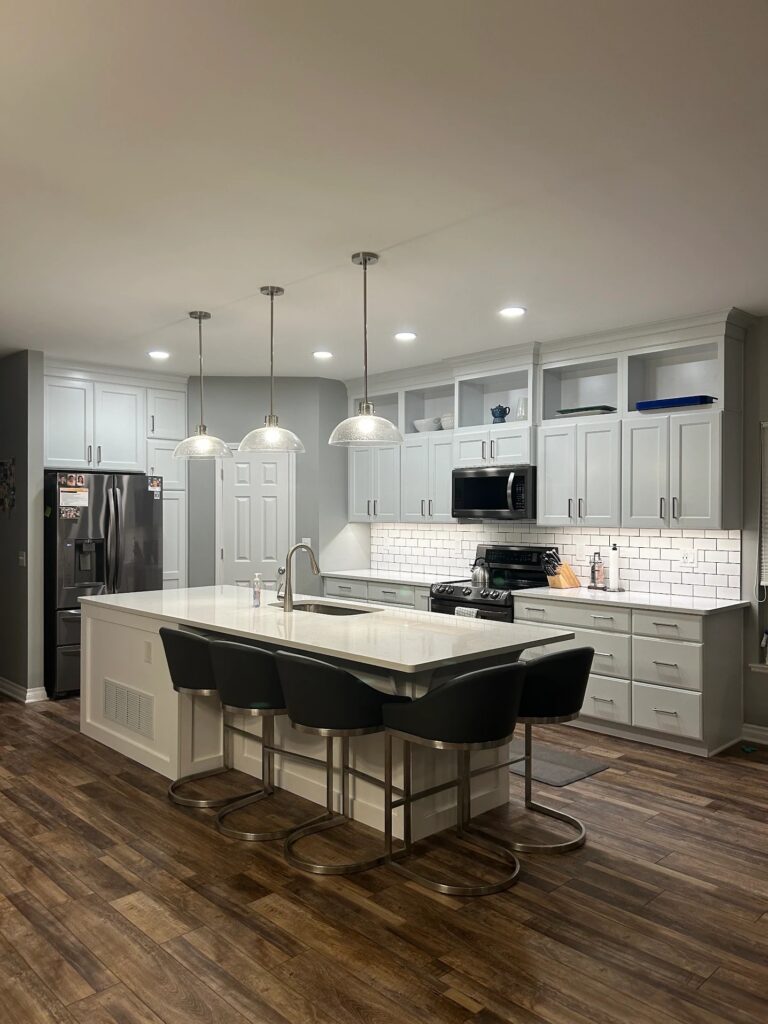
Account for Seating Comfort
If seating is part of your design, comfort matters just as much as appearance.
Tips for better seating:
- Match stool height to counter height
- Choose stools with or without backs based on space
- Allow enough legroom and spacing
Seating should feel natural and inviting, not cramped or awkward.
Why Some Homeowners Choose Professional Installation
While installing a kitchen island may seem like a manageable DIY project, there are several reasons why many Michigan homeowners choose to work with professionals like Atlas Home Improvement.
Accurate measurements and proper alignment are critical, and even small mistakes can lead to uneven surfaces or poor fit. Professionals also ensure that the island has the structural support needed to handle heavy countertops and daily use without issues over time.
In addition, electrical and plumbing work often requires specialized knowledge and must meet local building codes. Attempting these elements without experience can create safety risks or lead to costly corrections. Working with professionals also saves time, as a skilled team can complete the installation efficiently and with minimal disruption to your home.
At Atlas Home Improvement, we help homeowners design and install kitchen islands that are both beautiful and highly functional. From planning and layout to final installation, our team ensures every detail is handled with care.
Ready to Upgrade Your Kitchen With an Island?
Installing a kitchen island is one of the best ways to upgrade your kitchen, and increase home value, but it requires thoughtful planning and attention to detail. From proper spacing and overhang measurements to structural support and lighting, every decision impacts the final result.
If you take the time to plan carefully, your kitchen island can become the centerpiece of your home, combining style, comfort, and functionality in one space.
And if the process feels overwhelming, working with experienced professionals can make all the difference. Atlas Home Improvement is here to help every step of the way. Contact our team online or call 734-344-4788 to schedule a free consultation.
FAQ: Tips for Installing a Kitchen Island: Design, Layout, and More
Q: How much space do I need for a kitchen island?
You should have at least 3 to 3.5 feet of clearance around all sides of the island, with more space recommended for high-traffic kitchens.
Q: What is the ideal overhang for seating?
A comfortable overhang is typically between 12 and 15 inches for standard counter-height islands.
Q: Can I install a kitchen island myself?
It is possible, but it can be challenging if electrical, plumbing, or structural support is involved.
Q: How long does it take to install a kitchen island?
DIY projects may take several days or weeks, while professional installations are often completed much faster depending on complexity.